Turning my VIM to an IDE
There are many blog posts about setting up vim as an IDE tool. I’m posting this for myself because I will be googling the posts again in the future whenever I change or reset my PC or account.
1. VIM
brew install vim --with-override-system-vi
My OSX is Sierra, 10.12, and it didn’t go well without the option ‘–with-override-system-vi’. After installation, I was able to execute vim7 by hitting vi and vim8 by hitting vim.
2. Vundle
Vundle is a VIM plugin management tool. It saves time by eliminating processes. Without this, I should download packages, unzip them to a specific directory by myself. What I need to do is just giving an alias for the proper plugins now.
git clone https://github.com/VundleVim/Vundle.vim.git ~/.vim/bundle/Vundle.vim
Then, I copied this snippet to ~/.vimrc
set nocompatible " be iMproved, required
filetype off " required
" set the runtime path to include Vundle and initialize
set rtp+=~/.vim/bundle/Vundle.vim
call vundle#begin()
" alternatively, pass a path where Vundle should install plugins
"call vundle#begin('~/some/path/here')
" let Vundle manage Vundle, required
Plugin 'VundleVim/Vundle.vim'
" The following are examples of different formats supported.
" Keep Plugin commands between vundle#begin/end.
" plugin on GitHub repo
Plugin 'tpope/vim-fugitive'
" plugin from http://vim-scripts.org/vim/scripts.html
" Plugin 'L9'
" Git plugin not hosted on GitHub
Plugin 'git://git.wincent.com/command-t.git'
" git repos on your local machine (i.e. when working on your own plugin)
Plugin 'file:///home/gmarik/path/to/plugin'
" The sparkup vim script is in a subdirectory of this repo called vim.
" Pass the path to set the runtimepath properly.
Plugin 'rstacruz/sparkup', {'rtp': 'vim/'}
" Install L9 and avoid a Naming conflict if you've already installed a
" different version somewhere else.
" Plugin 'ascenator/L9', {'name': 'newL9'}
" All of your Plugins must be added before the following line
call vundle#end() " required
filetype plugin indent on " required
" To ignore plugin indent changes, instead use:
"filetype plugin on
"
" Brief help
" :PluginList - lists configured plugins
" :PluginInstall - installs plugins; append `!` to update or just :PluginUpdate
" :PluginSearch foo - searches for foo; append `!` to refresh local cache
" :PluginClean - confirms removal of unused plugins; append `!` to auto-approve removal
"
" see :h vundle for more details or wiki for FAQ
" Put your non-Plugin stuff after this line
Now, I can install plugins with this command from vim extension mode.
:PluginInstall
This command does the details for me. I can update plugins easily.
:PluginUpdate
After removing plugin quotations from the vimrc file, just do this.
:PluginClean
For bundles, this command will work.
:BundleInstall
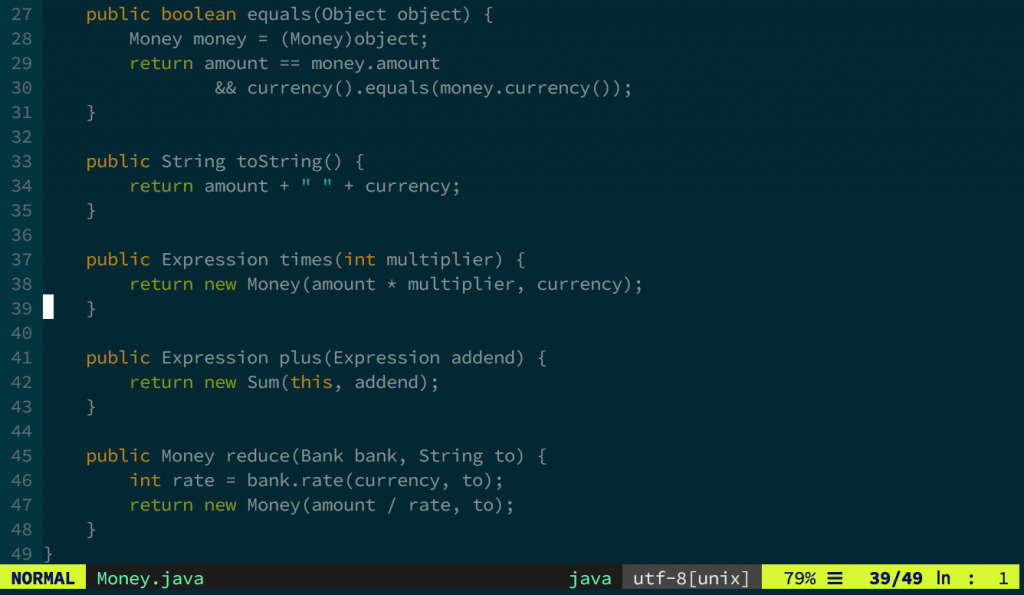
3. AirLine: Status Line
Let’s put a status line to my vim. I added this to my ~/.vimrc file.
Plugin 'vim-airline/vim-airline'
After installation, my vim has the status line now.
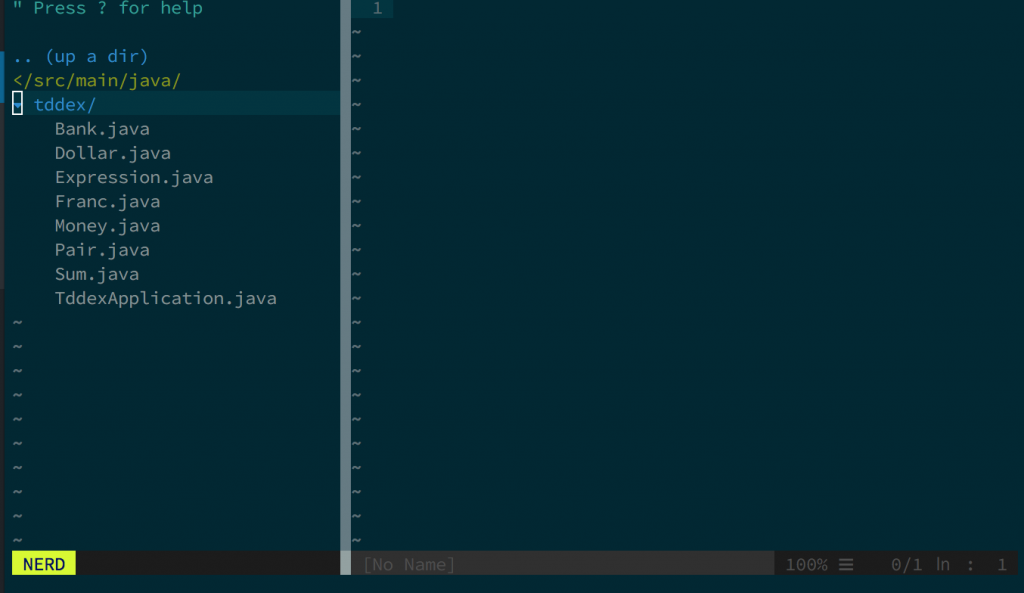
4. NERDTree: Explorer
I wanted to have project view window just like IntelliJ Idea or Eclipse. With NERDTree plugin, I can browse project directories better. Added this to ~/.vimrc, and installed the plugin.
Plugin 'scrooloose/nerdtree’
By default, :NERDTree summons NERDTreem, and it is not cool. So I added a shortcut for NERDTree to the vimrc file as follow.
map :NERDTreeToggle
Now I can use NERDTree with Ctrl + C.
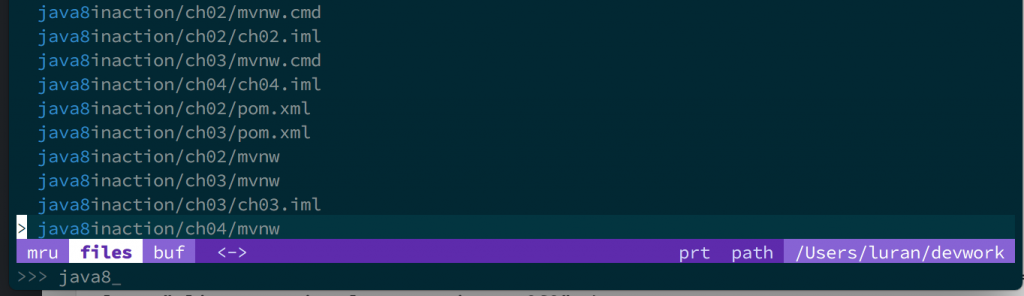
5. ctrlp : File Search Helper
This plugin is really helpful when I know the filename, but I am not sure where it is.
As its name implies, I can search nominees from the keyword by pressing Ctrl + p.
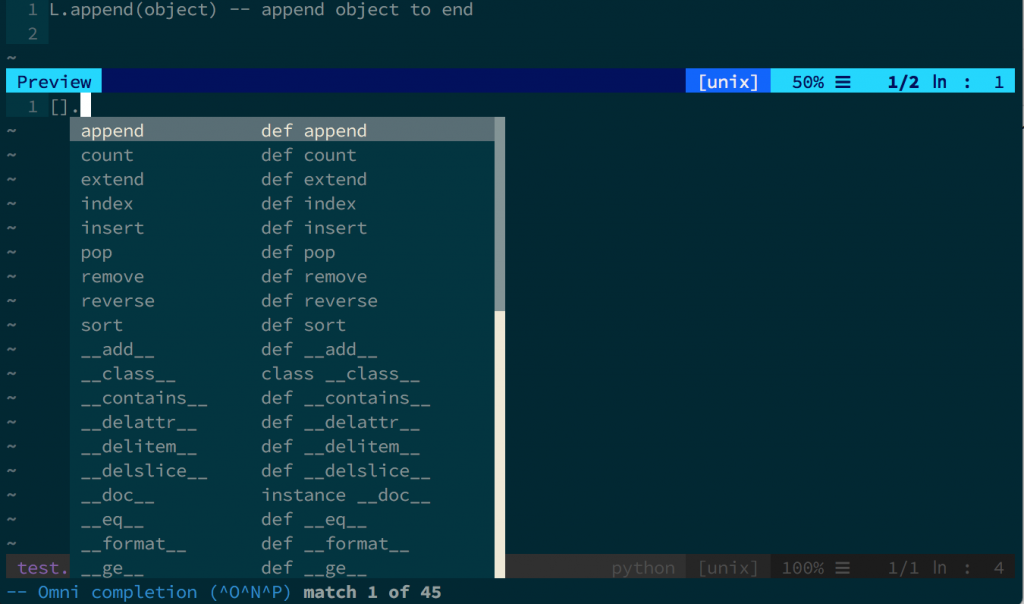
6. Jedi-Vim: Python Auto Completer
Even though I’ve quoted screenshots from some java files, I wanted to use vim for toy projects in python. This plugin might make my VIM more like a commercial one.
Leave a Comment